
Introduction
Sending data from View to Controller is the basic need of any software system. Mostly, if we are using Asp.Net MVC Razor page as frontend then we need to send the form data from view to controller using Ajax post. In this article series, we will learn two methods to send the data from View to Controller using the ajax post method in the ASP.NET Core application.
We will use the following methods to submit the form data in this article series:
- Json Form Serialization
- Without form serialization
However, in this first part, we will cover only the JSON Form serialization method.
Prerequisites:
- Visual Studio 2019 or later version
Let’s create the project.
Step1
open visual studio and Create project.

Step 2
Select the ASP.Net Core MVC and click on Next.

Step 3
Give the project name and location of your project.

Step 4
Select Target Framework .NET 5.0.

Step 5
Then, build the solution.
Up to now, we have only created the project, now we will move for form data Submission.
Step 6 – Add Model
Once it is created, then we will add the model: StudentModel. Click on the Models folder and add a new class named as StudentModel as depicted below.


For demo purpose, we will use four sample fields for form submission, so add four properties in the Student View model. Write below the line of code in this class:
 public class StudentModel
    {
        [Required]
        public string Name { get; set; }
        [Required]
        public string Email { get; set; }
        public string Phone { get; set; }
    }
Step 7
Add Action for View
For the sample demo, I will not create another controller we will use the existing (default) Home Controller. Now, we will add Action in Home Controller and create a view for Student Form submission named as CreateStudent.
Add below the line of code to add Action in Home Controller.
public IActionResult CreateStudent()
        {
            return View();
        }
Step 8 – Add View
Right-click on CreateStudent and add View for it as depicted below.

Select the Razor page and click on add.

CreateStudent.cshtml code:
<h4>Add Student Deatils</h4>
<hr />
<div class="row">
    <div class="col-md-4">
        <form id="studenteForm" novalidate class="needs-validation">
            <div asp-validation-summary="ModelOnly" class="text-danger"></div>
            <div class="form-group">
                <label asp-for="Name" class="control-label"></label>
                <input asp-for="Name" type="text" class="form-control" id="name" required />
                <span asp-validation-for="Name" class="text-danger"></span>
            </div>
            <div class="form-group">
                <label asp-for="Email" class="control-label"></label>
                <input asp-for="Email" type="email" class="form-control" id="email" />
                <span asp-validation-for="Email" class="text-danger"></span>
            </div>
            <div class="form-group">
                <label asp-for="Phone" class="control-label"></label>
                <input asp-for="Phone" type="number" class="form-control" id="phone" />
                <span asp-validation-for="Phone" class="text-danger"></span>
            </div>
            <div class="form-group">
                <button type="button" class="btn btn-primary" onclick="submitStudent()">Submit</button>
            </div>
        </form>
    </div>
</div>

@section Scripts {
    @{await Html.RenderPartialAsync("_ValidationScriptsPartial");}
}
Then, we will use the below javascript on the form submission button click event using Ajax.
<script type="text/javascript">
    function submitStudent() {
        var data = $("#studenteForm").serialize();
        console.log(data);
        alert(data);
        $.ajax({
            type: 'POST',
            url: '/Home/CreateStudent',
            contentType: 'application/x-www-form-urlencoded; charset=UTF-8', // when we use .serialize() this generates the data in query string format. this needs the default contentType (default content type is: contentType: 'application/x-www-form-urlencoded; charset=UTF-8') so it is optional, you can remove it
            data: data,
            success: function (result) {
                alert('Successfully received Data ');
                console.log(result);
            },
            error: function () {
                alert('Failed to receive the Data');
                console.log('Failed ');
            }
        })
    }

</script>
Step 9 – Add post method in Home Controller for Submit button click Event
Then we will write the Post method in HomeController for the Form Submit event. Here is the code of HTTP post method in HomeController.
[HttpPost]
        public async Task<IActionResult> CreateStudent(StudentModel student)
        {
            if (!ModelState.IsValid)
                return BadRequest("Enter required fields");
            //Write your Insert code here;
            return this.Ok($"Form Data received!");
        }
Complete CreateStudent.cshtml code:
@model Sample.ASPDotNETCore.Models.StudentModel

@{
    ViewData["Title"] = "CreateStudent";
}

<script type="text/javascript">
    function submitStudent() {
        var data = $("#studenteForm").serialize();
        console.log(data);
        alert(data);
        $.ajax({
            type: 'POST',
            url: '/Home/CreateStudent',
            contentType: 'application/x-www-form-urlencoded; charset=UTF-8', // when we use .serialize() this generates the data in query string format. this needs the default contentType (default content type is: contentType: 'application/x-www-form-urlencoded; charset=UTF-8') so it is optional, you can remove it
            data: data,
            success: function (result) {
                alert('Successfully received Data ');
                console.log(result);
            },
            error: function () {
                alert('Failed to receive the Data');
                console.log('Failed ');
            }
        })
    }

</script>

<h4>Add Student Deatils</h4>
<hr />
<div class="row">
    <div class="col-md-4">
        <form id="studenteForm" novalidate class="needs-validation">
            <div asp-validation-summary="ModelOnly" class="text-danger"></div>
            <div class="form-group">
                <label asp-for="Name" class="control-label"></label>
                <input asp-for="Name" type="text" class="form-control" id="name" required />
                <span asp-validation-for="Name" class="text-danger"></span>
            </div>
            <div class="form-group">
                <label asp-for="Email" class="control-label"></label>
                <input asp-for="Email" type="email" class="form-control" id="email" />
                <span asp-validation-for="Email" class="text-danger"></span>
            </div>
            <div class="form-group">
                <label asp-for="Phone" class="control-label"></label>
                <input asp-for="Phone" type="number" class="form-control" id="phone" />
                <span asp-validation-for="Phone" class="text-danger"></span>
            </div>
            <div class="form-group">
                <button type="button" class="btn btn-primary" onclick="submitStudent()">Submit</button>
            </div>
        </form>
    </div>
</div>

@section Scripts {
    @{await Html.RenderPartialAsync("_ValidationScriptsPartial");}
}
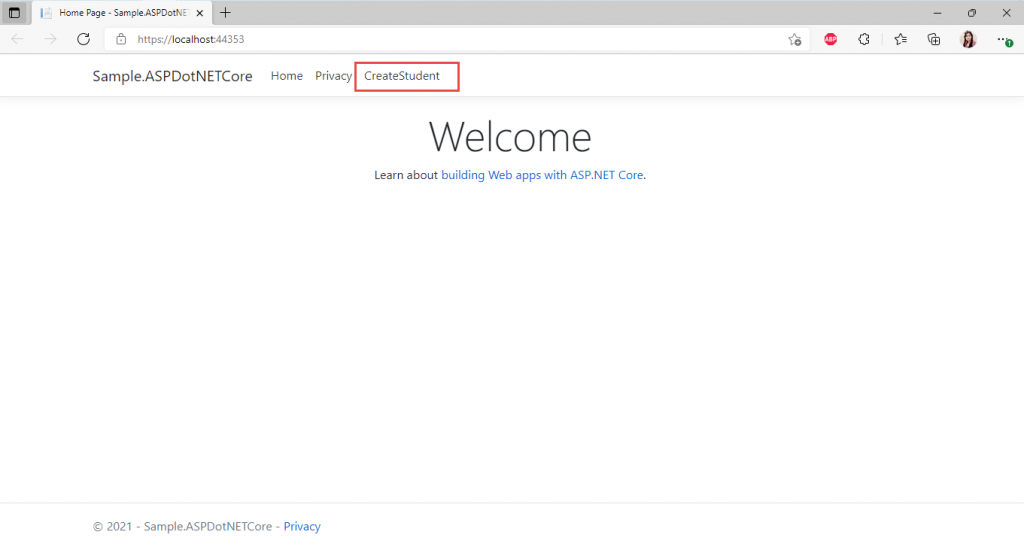
Now, add a link to the CreateStudent page in _Layout.cshtml as shown below.

Run the project and fill all the fields, Submit the form, debug and check whether the data is passed to the controller or not.
Below is the design of the home page.
Create Student page.

Below the picture shows that data is submitted to the controller successfully with the debugging point.

To sum up, in this article we have learned to submit the form data using the form serialization method and AJax in the ASP.NET Core application. In the next part, we will learn to submit the same form data with another method without the form serialization and using FormBody in Controller.
It is actually a nice and helpful piece of information. I am glad that you just shared this
useful info with us. Please stay us informed like this.
Thanks for sharing.
Appreciation to my father who informed me
on the topic of this website, this web site is actually awesome.
Hola! I’ve been reading your weblog for a long time now and finally got the
courage to go ahead and give you a shout out from Kingwood Tx!
Just wanted to say keep up the good work!
Hello there, You’ve done a great job. I’ll definitely digg
it and personally recommend to my friends. I’m sure they’ll be benefited
from this web site.
I am sure this article has touched all the internet
users, its really really good paragraph on building up new blog.